








When spring turns warm, farmers and gardeners across Australia turn compacted soil into a fine seedbed for vegetables, pasture, and food plots. A rotary tiller, often called a rotary hoe, is a tractor attachment that does this in one pass, breaking up soil and mixing in the surface growth. Choosing and using one well depends on matching the machine to the tractor, the soil, and the job.
How a Tractor Tiller Works
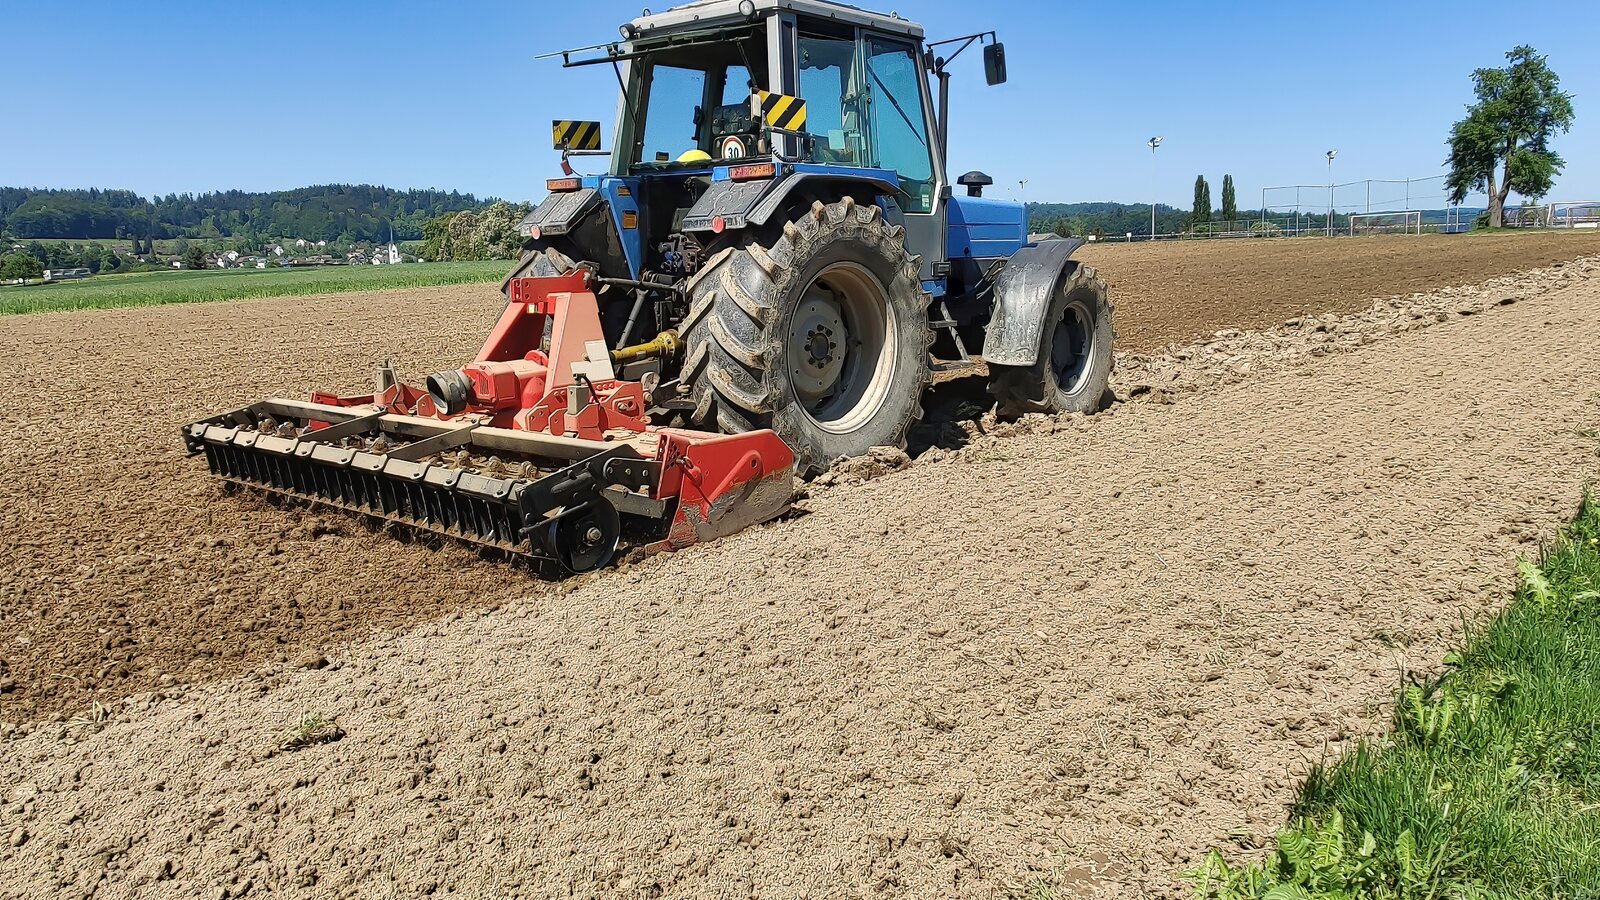
A rotary cultivator, another name for the same machine, has a horizontal rotor fitted with curved tines, which are steel blades set in rows. The tractor’ power take-off, a rotating shaft at the back, drives a gearbox that spins the rotor. As the tractor moves forward, the tines dig into the ground, throw soil against a hood, and leave a loose, crumbly layer behind. A rear gate or flap controls how fine the soil is when it leaves the machine.

Matching Tractor Size
Power matters. A tiller needs enough horsepower to turn the rotor through dense soil, and the tractor needs enough weight to stay stable. The manufacturer lists a range of tractor power for each model. A tractor that is too small will stall or struggle, while one that is too large wastes capacity and can overload the machine. The hitch size also has to match, with smaller tractors using a category one three-point hitch and larger ones a category two.
Working Depth and Speed
Depth is set with skid shoes or a roller that rides on the surface. A shallow pass suits a seedbed for small seeds, while a deeper pass breaks up compaction. Ground speed and rotor speed work together: a slow tractor and a fast rotor give fine tilth, while a fast tractor leaves coarse clods. Start slowly, check the result behind the machine, and adjust.
Reading Weeds and Residue
What grows on the land before tilling matters. Heavy grass, tall weeds, and crop residue can wrap around the rotor, so slash or mow first and let the cut material dry. A tractor tiller mixes the residue into the soil, where it breaks down, but thick mats of grass can clog the hood. Perennial weeds with deep roots may regrow from fragments, so deal with them before tilling.
Reading the Soil
Moisture changes everything. Soil that is too wet smears and forms hard clods when it dries, while soil that is too dry throws dust and wears the tines. A good test is to squeeze a handful: if it crumbles, it is ready. Clay needs more care than sandy loam, and stony ground wears the tines faster. In dry summer weather, irrigating a day or two ahead can make tilling easier.
Setting Up the Hitch and Top Link
Attach the tiller to the three-point hitch with the correct pins, level it side to side, and adjust the top link so the rotor shaft sits parallel to the ground. A tilted machine digs unevenly, with one side deeper than the other. Check that the power take-off shaft is the right length, and that the guards are in place before starting.
Do Not Over-Till
Tilling too often or too fine breaks down soil structure, the crumbly arrangement of particles that lets water and roots move. Fine, powdery soil can crust over and wash away in heavy rain. Leave some texture in the soil, avoid repeated passes, and consider adding organic matter such as compost or old hay after tilling.
Timing the Job and Sowing
When tilling soil, work as close to sowing as practical, so weeds have little time to return. A tractor tiller leaves a loose layer that dries quickly in summer, so water or sow soon after. For small seeds, a firm, fine seedbed is best, and a roller or a light pass with a harrow can settle the surface. Plan the planting schedule around the weather forecast.
Safety Around the Power Take-Off
A spinning shaft and rotor are among the most dangerous parts of tractor work. Keep all guards in place, disengage the power take-off before leaving the seat, and never reach near the tines while the engine runs. Keep bystanders and pets well away, and wear sturdy boots and no loose clothing.
Looking After the Tines and Gearbox
Check the gearbox oil, grease the fittings, and inspect the tines for wear. Bent or broken tines should be replaced in matched sets to keep the rotor balanced. Store the tiller under cover with the tines clear of the ground. Before each season, check the shear bolt or slip clutch if fitted, since these protect the gearbox when the rotor hits a buried stone or root. A tiller that is cleaned and greased after each use will outlast one that is left caked in soil. Owners who prepare land each season often look at the wider range of industrial equipment for farm and acreage work, so cultivating, slashing, and fencing can be planned as one program.

Terry Clark is the Publisher and Content Director of 365 Retail, with more than a decade of experience covering retail design, technology innovations, store openings and the wider retail industry. He also works closely with leading retailers, suppliers, agencies, events and industry awards across the UK.